Spooktacular Customization: The Ultimate Guide to Halloween Letter G Mug Wrap Sublimation
The holiday season is a time for creativity, and few holidays inspire as much artistic flair as Halloween. From intricate costumes to elaborate home decorations, the desire to personalize every aspect of the celebration is strong. In recent years, the world of sublimation printing has opened up incredible opportunities for crafters, small business owners, and DIY enthusiasts to create unique, professional-grade merchandise from the comfort of their homes. Among the most popular items to customize is the trusty coffee mug, specifically using 3D mug wrap designs. Today, we are diving deep into a specific yet highly versatile niche: the Halloween Letter G Mug Wrap Sublimation.
Whether you are looking to create a personalized gift for someone named "Grace," "George," or "Gordon," or perhaps you want to spell out "GHOST" across a set of mugs for a party, understanding how to utilize these digital assets is key. This guide will walk you through everything you need to know about mug wrap templates, the technology behind 3D sublimation, and how to transform a simple digital download into a tangible piece of Halloween magic.
Understanding the Basics: What is Sublimation?
Before we dissect the specific design of the Letter G wrap, it is essential to understand the medium. Sublimation printing is a process that uses heat to transfer dye onto materials such as plastic, polymer-coated metals, or ceramics. Unlike traditional inkjet printing where ink sits on top of the paper, sublimation ink turns into a gas when heated, bonding permanently with the fibers of the substrate.
In the context of mugs, this means the design becomes part of the mug's coating. It won't peel, crack, or fade easily, making it dishwasher safe (though hand washing is always recommended for longevity). When we talk about a digital mug wrap, we are referring to the flat image file that you print onto special sublimation paper. Once wrapped around the mug and pressed, this flat image transforms into a seamless 3D mug design.
The Significance of the "Letter G" in Seasonal Design
You might wonder why a single letter is so significant. In the world of personalized mugs, monograms are timeless. However, during Halloween, letters take on a new life. The letter "G" can serve multiple purposes:
- Monogramming: Creating a custom gift for friends or family members whose names start with G.
- Word Building: Using a set of mugs to spell out seasonal words like "GHOUL," "GHOST," or "GOBLIN."
- Thematic Consistency: Matching a specific aesthetic, such as a gothic font or a playful pumpkin-themed typography.
A high-quality Halloween Letter G Mug Wrap typically features elements like bats, spiderwebs, pumpkins, or eerie mist surrounding the letter. This attention to detail is what separates a generic print from a custom mug design that feels professionally crafted.
Decoding the Digital File: What You Actually Receive
When you purchase a sublimation bundle or a standalone mug wrap PNG, it is crucial to understand the technical specifications to ensure success. Let's break down the typical contents of a Halloween Letter G Mug Wrap Sublimation 3D mug wrap download based on industry standards.
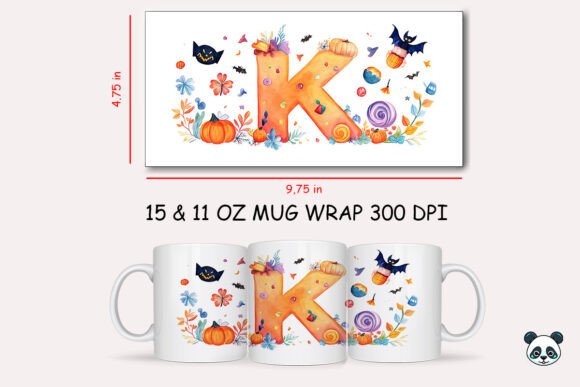
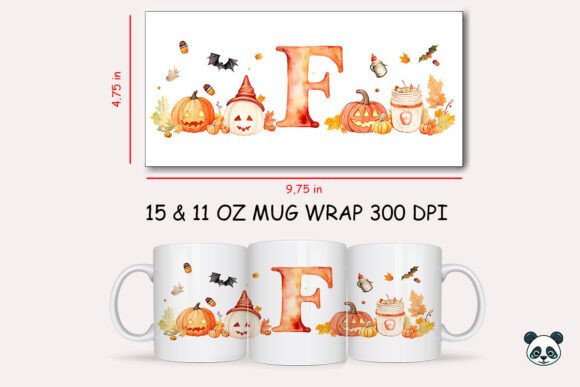
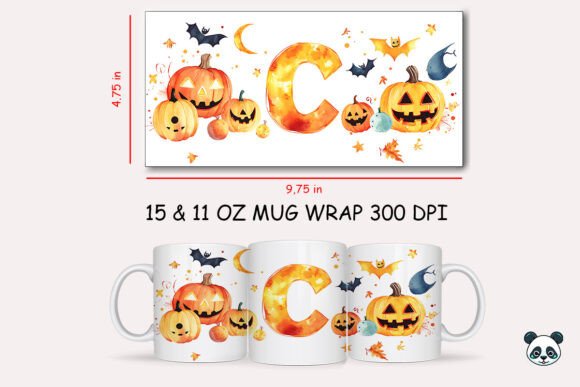
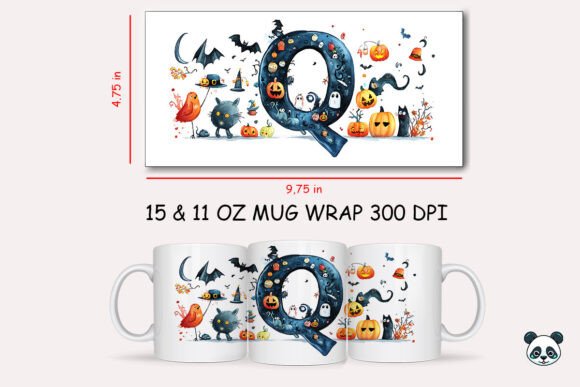
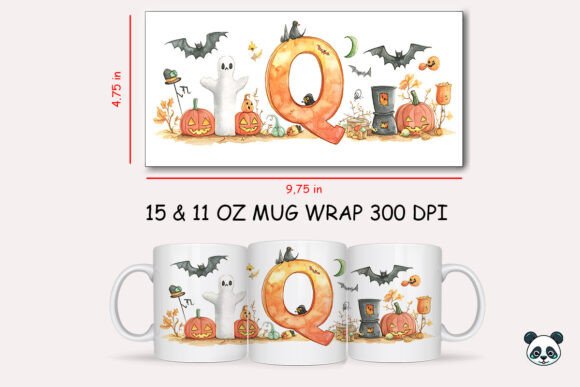
Usually, you will receive an instant digital download containing a ZIP file. Inside, you will find high-resolution image files, most commonly in PNG or JPG format. A standard specification for a 11oz or 15oz mug wrap is approximately 9.75 inches by 4.75 inches at 300 DPI (dots per inch).
Why Resolution and Format Matter
The 300 DPI resolution is the gold standard for printing. If your image is lower than this (e.g., 72 DPI, which is common for web images), your printed result will look pixelated and blurry. The dimensions (9.75" x 4.75") are calculated to account for the curvature of the mug and the slight shrinkage that occurs during the heat press process.
Furthermore, these files usually come with a transparent background if they are PNGs. This is vital for mug wrap clipart because it allows you to layer the Letter G design over different colored mug bases or combine it with other sublimation elements without a white box appearing around your artwork.
Important Note: These are raster image files (PNG/JPG). They are NOT SVG files. This means they cannot be used with cutting machines like Cricut or Silhouette for vinyl cutting. They are strictly designed for sublimation printing. Trying to use them as cut files will result in frustration, as the machine will attempt to cut every single pixel rather than the outline of the letter.
From Screen to Ceramic: The Practical Workflow
So, you have downloaded your printable mug wrap. How do you turn it into a physical product? Here is a step-by-step look at how this fits into your creative workflow.
- Preparation: Unzip your downloaded file on your computer. Open the PNG or JPG in your preferred design editing program (such as Photoshop, Canva, or Illustrator).
- Mirroring: This is the most critical step in sublimation printing design. You must mirror (flip horizontally) your image before printing. If you forget this, your Letter G will appear backward on the final mug.
- Printing: Print the mirrored image onto sublimation paper using sublimation ink. Ensure your printer settings are set to "High Quality" or "Photo" to capture all the details of the mug artwork.
- Wrapping: Carefully wrap the printed paper around your blank sublimation mug. Secure it tightly with heat-resistant tape. Any wrinkles or gaps will result in ghosting or blurred lines in your 3D design.
- Pressing: Place the mug into a mug press or an oven wrap. Apply heat and pressure according to your specific mug manufacturer's guidelines (typically around 380°F for 180 seconds, but this varies).
- Revealing: Once the timer goes off, remove the mug (carefully, it's hot!) and peel off the paper while it is still warm. Voila! Your custom design mug is ready.
Common Misunderstandings and Troubleshooting
Even with the best mug wrap template, things can go wrong if the basics aren't respected. One common assumption is that any mug will work. This is false. You must use mugs with a special polymer coating designed for sublimation. Standard ceramic mugs found at dollar stores will not accept the ink.
Another frequent issue is color vibrancy. If your Halloween Letter G looks washed out, check your ICC profiles. Sublimation ink often prints darker on paper than it appears on the screen, but after pressing, the colors should pop. If they don't, your temperature might be too low, or your press time too short. Conversely, if the image looks brownish or burnt, you may have overheated the mug.
The Broader Impact: Creativity and Commerce
The availability of high-quality digital downloads like the Halloween Letter G wrap has democratized merchandise creation. In the past, creating a custom mug required expensive minimum orders from large printing companies. Today, a stay-at-home parent, a teacher, or an aspiring entrepreneur can build a mug wrap collection and start a business with minimal overhead.
This technology also plays a role in education and community building. Schools often use sublimated mugs for fundraisers. Churches create them for event souvenirs. Families use them to create cohesive themes for holiday gatherings. The ability to quickly swap out a letter or a graphic allows for infinite customization, making each item feel special and intentional.
Moreover, the rise of 3D sublimation techniques—where the design wraps fully around the object rather than just sitting in a rectangle—has elevated the perceived value of these items. A well-executed mug wrap illustration that flows seamlessly around the curve of the cup looks far more premium than a standard decal.
Conclusion: Embracing the Art of Personalization
The Halloween Letter G Mug Wrap Sublimation file is more than just a few megabytes of data; it is a tool for expression. It represents the intersection of modern technology and traditional craftsmanship. By understanding the nuances of sublimation graphics, respecting the technical requirements of DPI and file formats, and mastering the heat press process, you unlock the ability to create lasting memories.
Whether you are decorating for a spooky soirée or launching a seasonal product line, these digital art assets provide the foundation for success. Remember, the key lies in the details: mirroring your image, securing your wrap tightly, and choosing the right blank. With these skills in hand, you can transform a simple letter into a statement piece, proving that in the world of DIY, the only limit is your imagination. So, grab your sublimation printer, fire up the heat press, and get ready to make this Halloween unforgettable, one mug at a time.